Little House Playmat Sew Along - Week Three
WEEK THREE – MORE APPLIQUE!


Now repeat this process to create the other two window pockets on the inside panels.
Making your inside front door pocket.
Take your "inside front door applique" from earlier and bind all four edges with 25mm brown bias binding using the same method of binding as you did for constructing the roof box pockets. Now pin this in place using the marks you made on the "inside door panel" as before. Stitch on the door pocket by working 2mm from the outside edge of the bias binding - only stitch the top and bottom edges and the right hand side edge. Leave the left hand side edge open to allow your creatures to hide behind the door! See picture Twelve and diagram 4 below.


Repeat this process to add the roof to your other "outside door panel".
After all that hard work your will now have completed two "outside door panels" (see picture seventeen) two "inside door panels" and one "house panel"!

This week you will be completing more of your appliqué decoration
and construction of the appliqué pockets on your playmat. Refer back to week one photos if clarification of playmat parts is needed - remember that your "door panels" (inside and outside) are different components to your "door appliques" (inside and outside).
More Pockets - Boxes in the roof
More Pockets - Boxes in the roof
Before you start thinking about your appliqué pockets, sew
on 12mm brown bias binding to create beams in the roof part of the house and roof
panel. Sew on the bias binding by stitching approximately 2mm in from each folded
edge of the bias. Have a look at Picture One below for positioning – we made one central upright with two smaller
cross beams.
 |
| Picture One |
Roof box appliqués
Choose from your scraps
some fabric for your roof boxes. You need to cut out two box shapes, one is
15cm x 10cm and the other is 9cm x 9cm.
Cut out the same size
pieces of iron-on interfacing and iron these onto the reverse.
Now stitch any
decoration you fancy onto the box before going any further. A disappearing
fabric marker is really useful at this stage to mark your designs before stitching - we used a sewline pen and eraser pen, our favourite fabric marker.
We used multiple lines of straight machine stitching to label one box as a tea
chest and then some zig-zag machine stitching on the larger box to give the
effect of wooden planks. Tie of all your threads and neaten up. See Picture two below
for reference
 |
| Picture Two |
Now bind around the
raw edges of your two boxes with 25mm beige bias binding. Fold this over the
raw edges as you did with the window appliqués and stitch 2mm from the folded
edge of the bias closest to the centre of your fabric piece. Stop stitching about 1cm before each corner - this will allow you to mitre the bias binding around each corner, pin the
folded mitred corner in place and continue stitching on the next side of your
fabric piece. (See picture three.) Fold over the raw edge on the cut end of your
bias binding and tuck this in before you finish stitching and tie off any loose
threads.
 |
| Picture Three |
Once bound these
boxes are ready to appliqué onto the roof space of your house and roof panel.
Pin them into position (see picture four) and sew each one on with machine
stitching 2mm from the outside edge of your bound boxes – make sure to leave
the top edge of the boxes unstitched so that you form a pocket that your
animals will be able to hide in later.
 |
| Picture Four |
Now it's time to begin work on your door appliques!
Outside front door applique
Inside front door applique
Once you're happy with your door design, tie of all your threads and neaten up!
Positioning and stitching on door and window appliques on the outside door panels
Outside window appliques
Firstly have a quick measure round your window to work out roughly how much bias you are going to need to go around the two long sides and the top of your window. Cut a length of 12mm white bias binding slightly longer than this measurement and iron a very thin strip of bondaweb on the back, along the full length (as you did on the panelling for the "outside front door applique").
Now your are going to create window sills as shown in picture 9 below. To do this cut a strip of 25mm white bias binding long enough to cover the full length of the bottom edge of your window pane, with about 2cm extra on each end to allow you to tuck the raw edges under and to make a slightly extended window sill (Have another look at picture 9 - it's simplier than it sounds!) Iron a thin strip of bondaweb onto the back of the bias binding as before and iron it into position. Again use straight stitching 2mm from the edge and work all the way around the bias binding window sill making sure you tuck those raw edges in as you go.
Again repeat this for all three outside window appliques.
Going back to your front door applique, in exactly the same way as your window sills, create a door step under your front door using 25mm brown bias binding - use picture 10 as a reference - you will notice we have elongated it on the right hand side because we are going to applique on a pot plant later!
Positioning and stitching on door and window pockets on the inside door panels

It's worth noting here that these will be pinned and then sewn on around the edges, rather than "bondawebbed" on as before. This is because you want to make pockets for your creatures to hide in, not bog-standard appliques!
Outside front door applique
Cut a 23cm x 16cm
piece from the fabric chosen for your "outside front door applique". Mark out door panels with bias binding (we
chose light yellow) on the front of your door – ironing on skinny strips of
bondaweb to the back of the bias binding makes this much easier to position –
try to mitre the corners and tuck in any raw edges for a neat finish. Iron these on in position and then stitch
around working 2mm from each edge of the bias binding to attach it – we used a contrasting
thread to create a 3D sketchy affect.
Cut a tiny circle of
fabric with bondweb on the back for a door handle, iron and then stitch this on
too. Then tie off any loose threads. (see picture five below for reference) Now
cut a 23cm x 16cm piece of bondaweb and iron this onto the back of the front door.
 |
| Picture Five |
Inside front door applique
Cut a 23cm x 16cm
piece from the fabric you have chosen for your inside front door applique. This time we chose a brown fabric with a cross weave print for texture. Iron on some fusible interfacing to the reverse of your door applique - this will make it easier to handle as you are doing the decorative stitching. Now stitch any
decoration onto the door you like, again we found a disappearing
fabric marker is really useful. This time we stitched with a small zigzag stitch to mimic the panel design on the outside of the front door. Then we added a handle in exactly the same way as before. (Remember, if you're a stickler for detail like me, the door handle needs to be attached on the opposite side of your "inside front door applique" to the "outside front door applique" - Just a thought!) Have look at picture six.
 |
| Picture Six |
Positioning and stitching on door and window appliques on the outside door panels
Take your "outside door panels" (from week one) and lay them out on your work surface - use picture seven below and the details below as a guide for positioning your windows and "front door appliques".
 |
| Picture Seven |
Firstly, concentrate on the right hand "outside door panel". You want to position
the "outside front door applique" in the centre of your "outside door panel" about 3cm from it’s bottom
edge.
Remove the paper
backing from the bondaweb on the "outside front door applique" and iron the door in position. Stitch
around all edges of the door using a zig-zag stitch approximately 3mm wide to
attach it, working right at the edge of the fabric of the door.
Outside window appliques
Now
take your prepared "outside window appliques" from week two. Cut pieces
of bondaweb to the same size as your "outside window appliques" and iron
them on the reverse of each window. Take your right hand side "outside
door panel". Position one of your "window appliques" on the "outside door
panel" about 9cm above the door in a central position. Once you are happy
with the position of your window, peel off the paper backing of the
bondaweb and iron in position.
Now
take your left hand side "outside door panel" and position your two
windows on this side (again use picture seven above as a guide). You will need to make sure they are both in a
central position and also to make sure the two, first floor windows, are
on the same level on both the left and right hand panels. Again once you are happy with the positioning of all your front windows and front door, peel off the bondaweb's paper backing and iron your windows onto your door panels.
Now
the windows are temporarily attached, you are going to use bias binding
to fix them in place permanently and to finish creating the window pane
effect.
Firstly have a quick measure round your window to work out roughly how much bias you are going to need to go around the two long sides and the top of your window. Cut a length of 12mm white bias binding slightly longer than this measurement and iron a very thin strip of bondaweb on the back, along the full length (as you did on the panelling for the "outside front door applique").
Iron the bias binding in place so that it covers all the raw edge of your window applique on the two vertical sides and the top edge - mitre the corners neatly as you did when making the roof boxes. Once this is ironed into position stitch it down to secure it, using a straight stitch about 2mm from, firstly the inside edge, then the outside edge of the bias binding. See picture eight below. Repeat this process for each of the three "outside window appliques".
 |
| Picture Eight |
Again repeat this for all three outside window appliques.
 |
| Picture Nine |
 |
| Picture Ten |
Now is the time to position your "inside window pockets" and "inside front door applique" onto the "inside door panels".
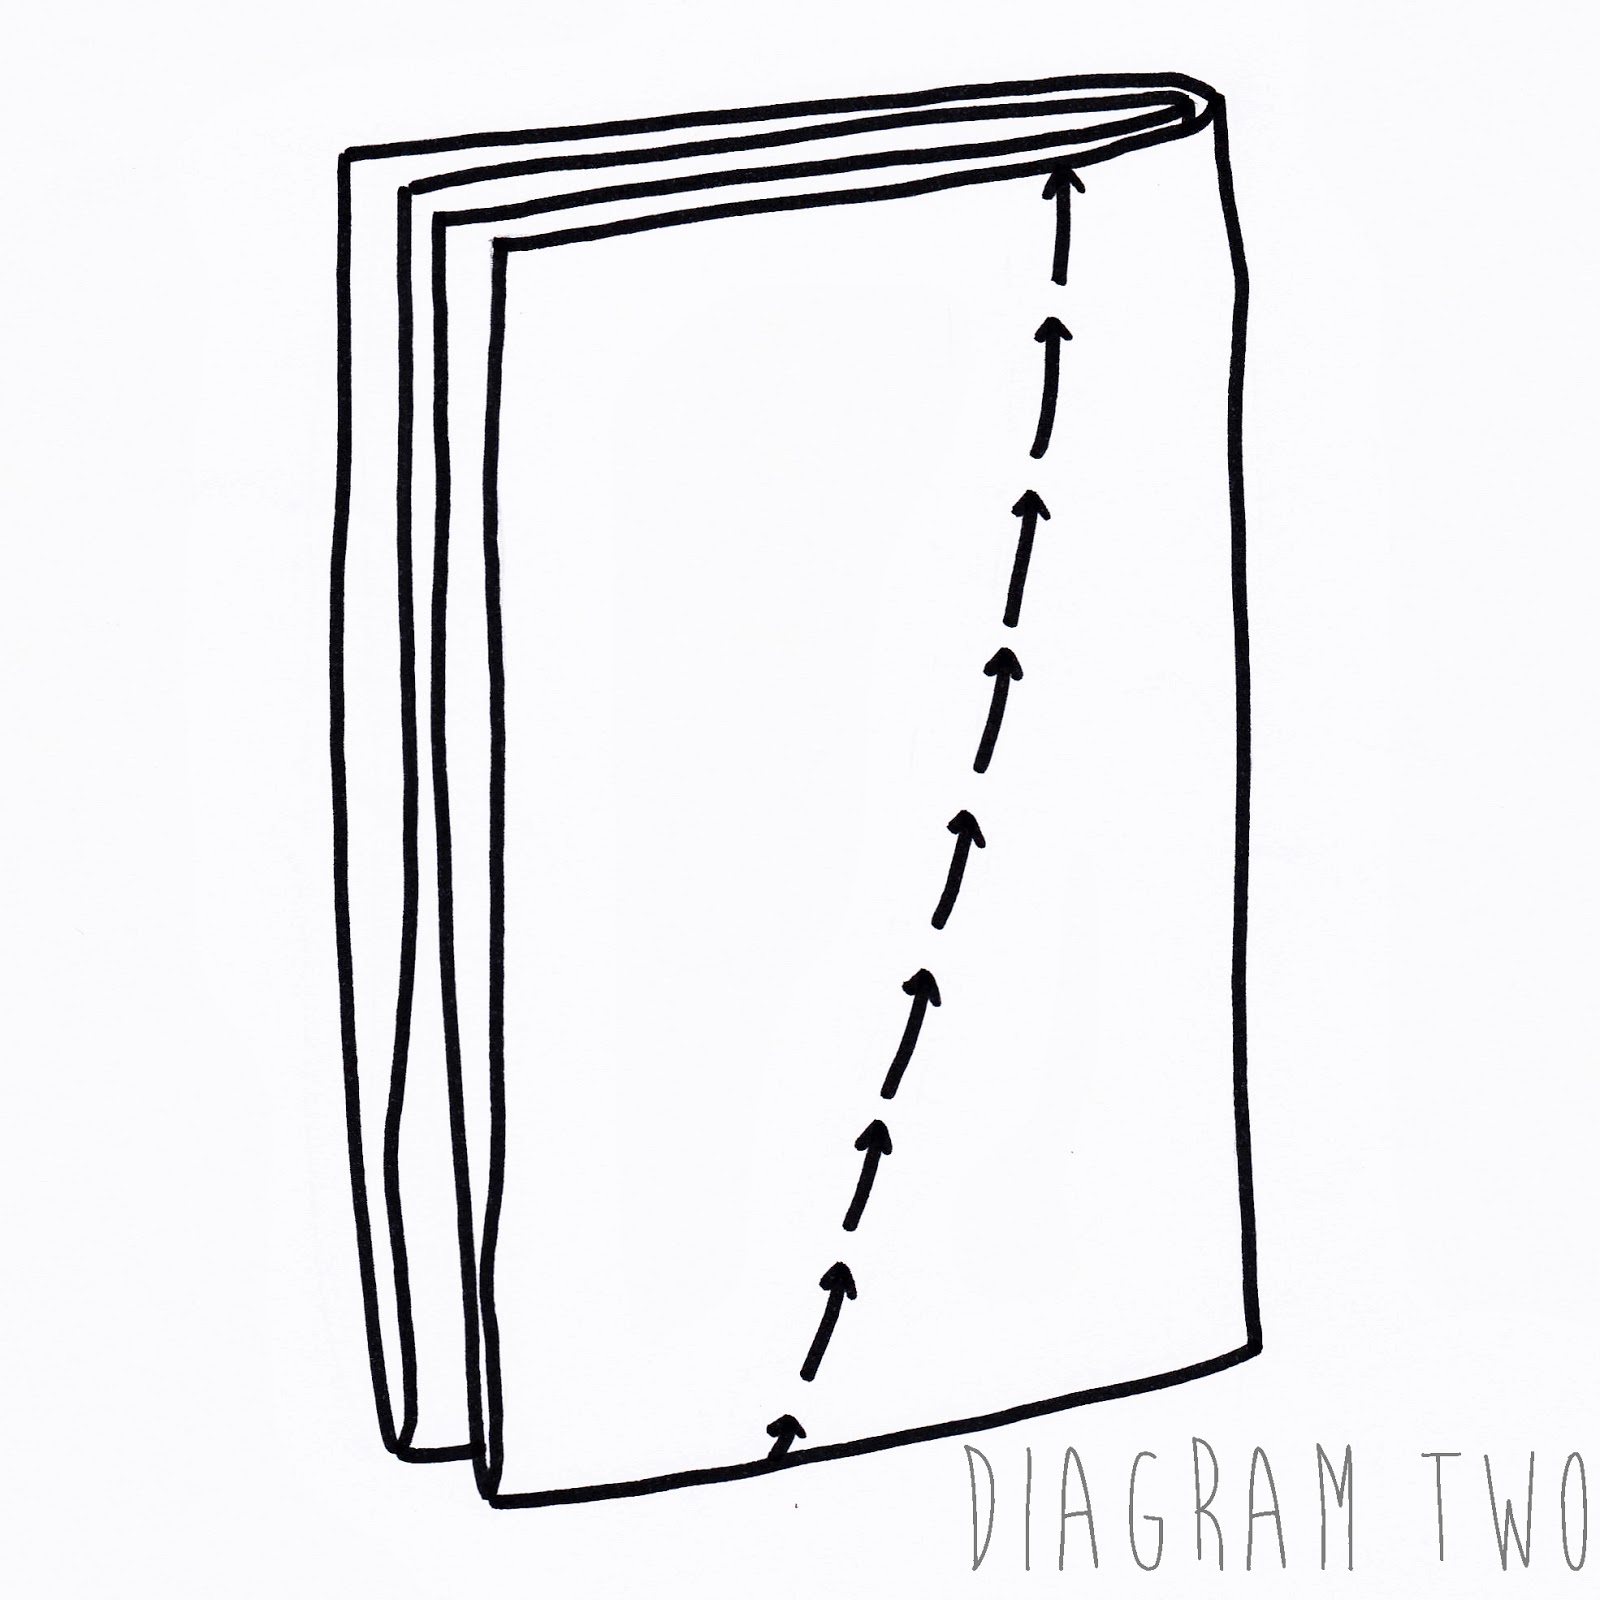
You need to position these in a similar place to where they are positioned on the "outside door panels". To do this we used the "outside door panels" as a guide. Firstly we laid the "inside door panel" that you're about to work on, face down on our work surface then laid the completed "outside door panel" ontop of it, face up. (The wrong sides of the panels will be facing and all the edges of the outside and inside panels match - see diagram 1.)

Use pins to poke straight down through all the layers, at the corners of the window and door appliques . Carefully flip your panels over and where the sharp ends of the pins are poking out on the inside panel, mark with a fabric marker. This will give you your guide as to where to position your window and door pockets on the "inside door panels" (this will also help you make sure that both your "front door appliques" are on the same side panel as you open your playmat!) Anyway, you can put away your pins and "outside door panel" away for now and concentrate on stitching on your pockets.
It's worth noting here that these will be pinned and then sewn on around the edges, rather than "bondawebbed" on as before. This is because you want to make pockets for your creatures to hide in, not bog-standard appliques!
How to construct an inside window pocket
Take your "inside window pieces" you created in week two. Remember you will have two pieces to each window pocket you are about to make (one" top window pocket piece" and one "bottom window pocket piece" per window - it's all quite logical really!)
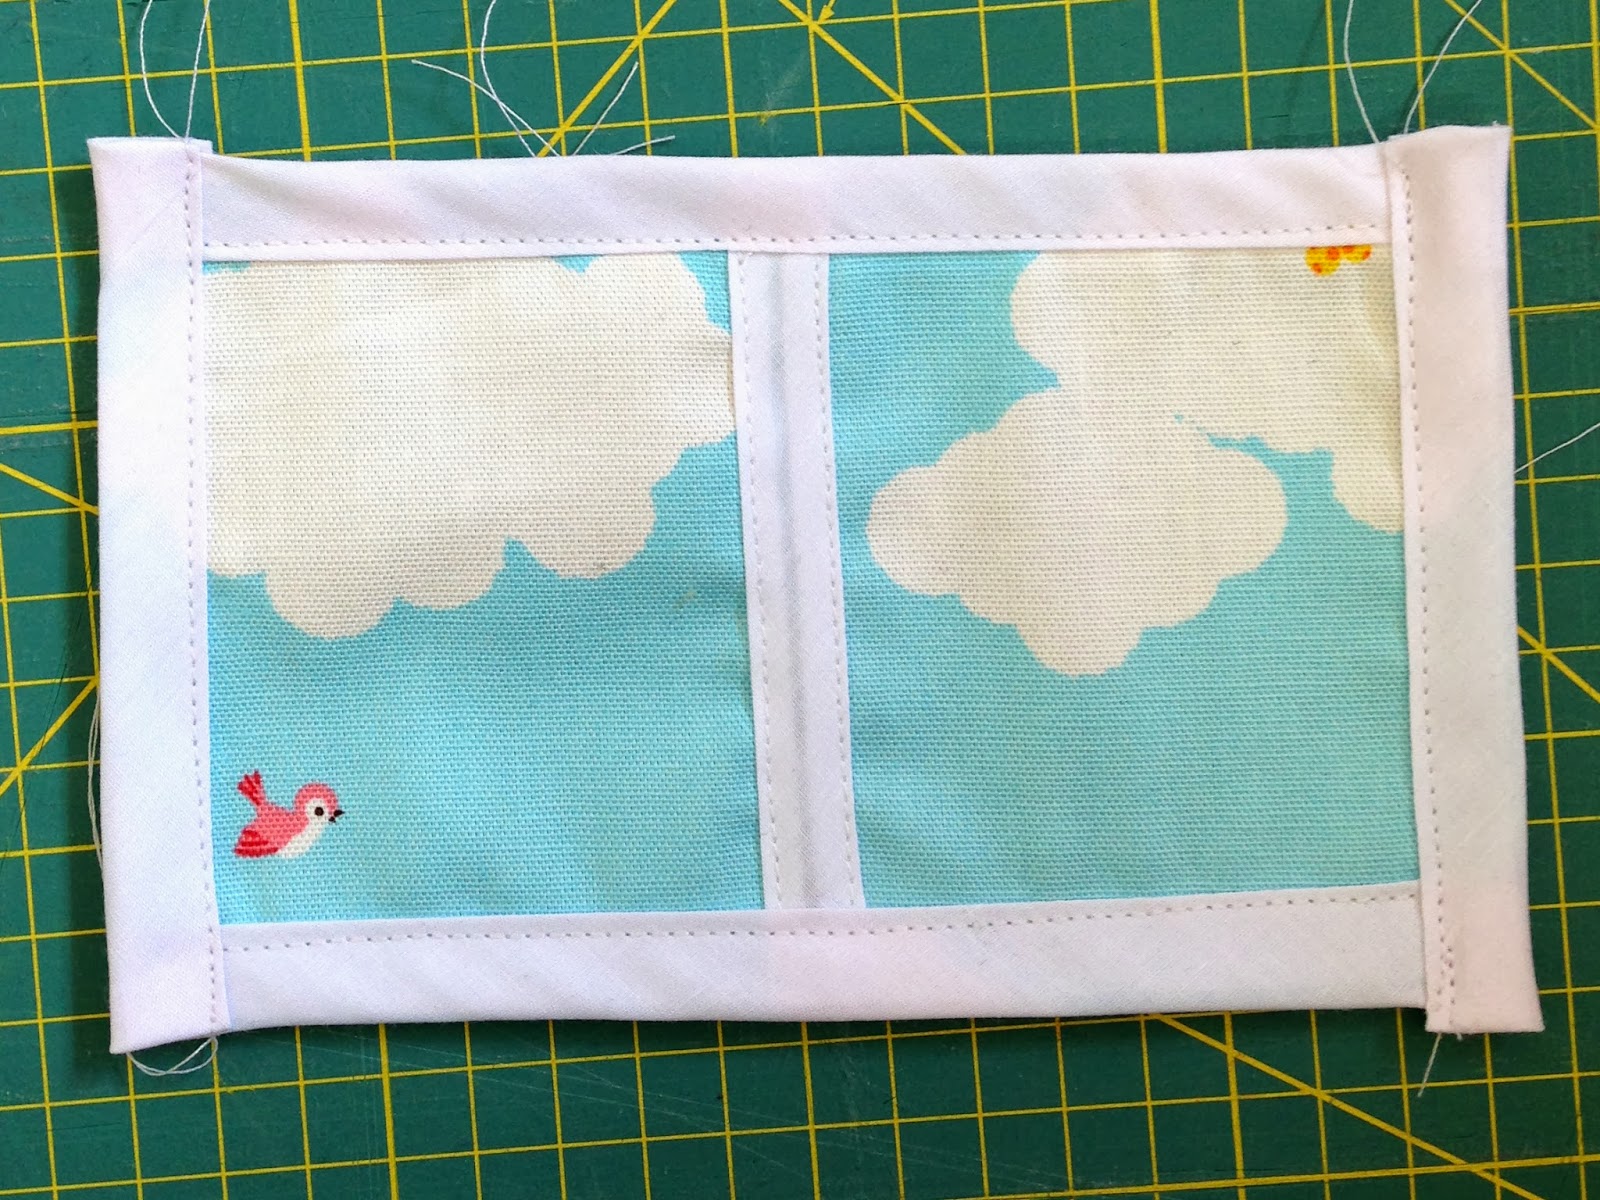
Use the marks you just made on your "inside door panel" to position the top corners of your top window pocket piece (double check you have got any birds on your sky fabric up the right way!). Pin this in place and then using a straight stitch 2mm from the outside edge of the bias binding, attach your top window pocket piece by stitching along the vertical sides and the top of the window piece. (See diagram 2 below) Do not stitch across the bottom edge of the top window piece - leave this open.

Now position your "bottom window pocket piece" beneath the "top window pocket piece" matching the bottom two corners of the bottom window pocket piece to the bottom marks you made on your "inside door panel". You need to make sure that the top edge of bias binding on the "bottom window pocket piece" overlaps and covers the bias binding on the bottom edge of the "top window pocket piece" (this sounds more complicated than it is so have a look at diagram 3 and picture 11 if you are unsure - it basically means you only have one width of bias binding on view going horizontally across the inside of your window.)

 |
| Picture Eleven |
Again pin this "bottom window pocket piece" in place and then use a straight stitch 2mm
from the outside edge of the bias binding to secure it. Attach your "bottom window
pocket piece" by stitching along the vertical sides and the bottom of the
window piece. (again see diagram 3) Do not stitch across the top edge of the "bottom window piece" - leave this open and you have completed your first window pocket for your creatures to hide in - Well done!
Now repeat this process to create the other two window pockets on the inside panels.
Making your inside front door pocket.
Take your "inside front door applique" from earlier and bind all four edges with 25mm brown bias binding using the same method of binding as you did for constructing the roof box pockets. Now pin this in place using the marks you made on the "inside door panel" as before. Stitch on the door pocket by working 2mm from the outside edge of the bias binding - only stitch the top and bottom edges and the right hand side edge. Leave the left hand side edge open to allow your creatures to hide behind the door! See picture Twelve and diagram 4 below.

 |
| Picture Twelve |
Ok, now your inside door panels are complete - big well dones all round!
Other ideas for extra
appliqué decorations
Now we wanted to be a bit fancy and do a bit more applique on the "outside door panels" - you can let your imagination run riot here - you can really personalise your house in whichever manner you like - how about making it look like a mini version of your actual house? Or maybe your dream house? As always, it's the little personal details that make projects like this so satisfying.
We added a roof and some pot plants on our window sills and door step, but you can add as much (or a as little) extra decoration as you like.
An easy method to create the more fiddly additions (such as the pot plants) is to take some bondaweb and trace pictures (from magazines or books or print them from the web) onto the paper backing. Cut this out roughly, then iron the bondweb onto your chosen fabric - leave the bondaweb paper backing attached and then cut out neatly following your drawn lines - then peel away the paper backing - position on your house panel, iron on, and stitch around as before to secure them - it really is that simple.
An easy method to create the more fiddly additions (such as the pot plants) is to take some bondaweb and trace pictures (from magazines or books or print them from the web) onto the paper backing. Cut this out roughly, then iron the bondweb onto your chosen fabric - leave the bondaweb paper backing attached and then cut out neatly following your drawn lines - then peel away the paper backing - position on your house panel, iron on, and stitch around as before to secure them - it really is that simple.
If you are unsure, have a practice on some scraps first, but think about fabric and thread choices - there is a world of opportunity sitting in your scrap box I'm sure - maybe you have fabric with a great illustration on ready to cut out and applique right onto your fabric? And don't forget to think about your stitching style as well - we used a
straight stitch for our tree trunks but a spikey zigzag stitch to attach
the pot plants and make them look like cacti.

Adding the roof
Finally we added the roof. To do this we firstly cut 50cm of jumbo ricrac in white and pinned this on about 10cm from the top of your "outside door panel", running parallel to the slope of the roof. (See picture 13) Then cut a piece of red fabric about 50cm x 15cm, lay this ontop of the jumbo ricrac and again following the slope of the roof. One side of the bumps of the ricrac just needs to poke out at this stage (see picture 14). Pin this in place. Stitch through your red fabric, jumbo ricrac and "outside door panel" in a straight line following the centre line of the ricrac - then flip the red fabric over and iron it flat - the other side of the bumps of the ricrac should be secure but poking out from underneath the sewn on red fabric. Once this is ironed flat, we top-stitched along the folded edge of the red fabric (about 2mm from the folded edge) to secure it further and stop it moving around (picture 15). Then we flipped the "outside door panel" over again and cut off any excess red fabric and ricrac following the original edge of the "outside door panel" and returning it to its original shape. (picture 16).
 |
| Picture Thirteen |
 |
| Picture Fourteen |
 |
| Picture Fifteen |
 |
| Picture Sixteen |
Repeat this process to add the roof to your other "outside door panel".
After all that hard work your will now have completed two "outside door panels" (see picture seventeen) two "inside door panels" and one "house panel"!
 | |
| Picture Seventeen (ok you caught us! We hadn't attached the roof here yet - but you get the idea!) |
Well done again on all your hard work. Next week we will be joining all our pieces, constructing and quilting our playmat.
Labels: childrens, diy, do it yourself, make along, playmat, project, sew-along, Tutorial
posted by eternal maker @ Monday, October 21, 2013
1 Comments
![]()
![]()


